The instructions on this page are to be used when setting up an iPhone Email Account connected to Reveille’s email servers.
Follow the slides below working your way left to right.
Click on each numbered vertical bar to view slides below
- Settings
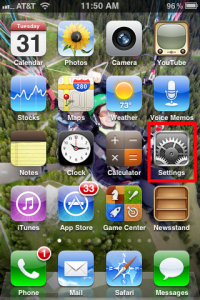 |
Settings
Tap the "Settings" icon. |
- Mail, Contacts, Calendars
 |
Mail, Contacts, Calendars
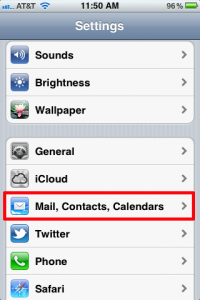
Scroll the settings screen until you can tap "Mail, Contact, Calendars".
|
- Accounts
 |
Accounts
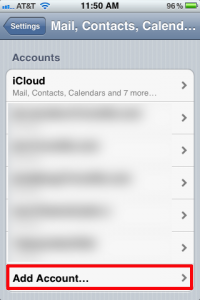
Depending on how many accounts you already have set up, the accounts screen on your phone will look different than what's shown at left (the active accounts have been blurred out).
Scroll to the bottom of the accounts screen, and tap "Add Account..."
|
- Account Types
 |
Account Types
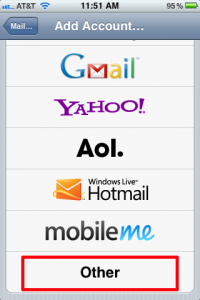
Scroll to the bottom of the Account Types screen and tap "Other".
|
- Other – Add Mail Account
 |
Other - Add Mail Account
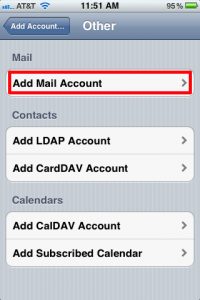
Tap "Add Mail Account" |
- New Account – Screen 1
 |
New Account - Screen 1
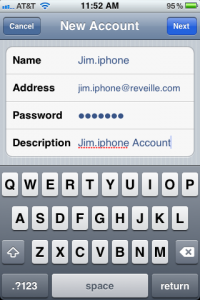
On the first "New Account" screen, enter the following:
- Name - This is what will appear to people when you send them email.
- Address - Your full email address. Careful typing here. A single letter mistake will cause this whole exercise to fail.
- Password - Your email account password. Upper and lower case matter. Be doubly careful here. Since dots replace what you type, you can't easily see mistakes.
- Description - This is what will show up in your Email Inboxes list on the email screen.
When you have all the information entered, tap the "Next" button at the top right.
|
- Mail Server Settings
|
|
|
Mail Server Settings
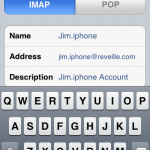
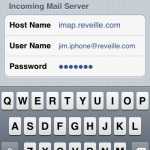
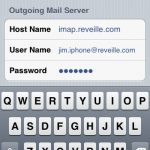
The 3 images above are separate sections of a single screen on your iPhone.
Section 1:
- Make sure "IMAP" is selected.
- Your name, address, and description should already be filled in at this point.
Section 2:
- Host Name - This will be imap.reveille.com (NOT your own domain name)
- User Name - This is your full email address
- Password - Your email password. Upper and Lower case matter. Be careful typing.
Section 3:
- Host Name - Again, this will imap.reveille.com (NOT your own domain name)
- User Name - This is your full email address
- Password - Your email password. Upper and Lower case matter.
Double check your entries, and then tap the "Next" button at the upper right of the screen.
After tapping "Next" you should briefly see a verification screen, and then be taken to the screen shown in the next slide. If verification fails, you have made a mistake typing one of the entries above, and you'll need to correct things before continuing. |
- IMAP Options
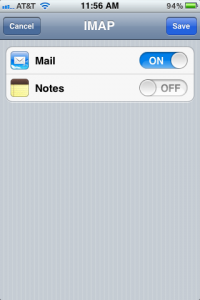 |
IMAP Options
Make sure "Mail" is "On".
Turn "Notes" on if you want your iphone Notes app to sync and store text notes on the email server. This will allow you to retrieve your notes both on your iPhone and from your email client.
Tap the "Save" button when you are finished.
|
- Account Added
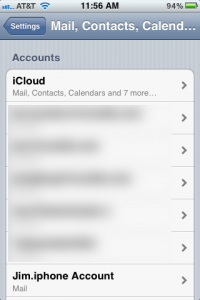 |
Account Added
You should see your newly created account on the Mail, Contacts, Calendars screen now.
You're finished!
Press your round home button and you can now check your email. |


